Use SvelteKit with SST
Create and deploy a SvelteKit app to AWS with SST.
Prerequisites
You'll need at least Node.js 18 and npm 7. You also need to have an AWS account and AWS credentials configured locally.
tip
If you are new to SST, we recommend you start with our latest version instead. Learn more about Ion.
1. Create a new app
Create a new SvelteKit app.
- npm
- yarn
- pnpm
npx create-svelte@latest
yarn create svelte
pnpm create svelte
Now initialize SST in your project root.
- npm
- yarn
- pnpm
npx create-sst@latest
yarn create sst
pnpm create sst
Ready to deploy
Your SvelteKit app is now ready to be deployed to AWS! Just run — npx sst deploy. But let's take a second to look at how SST makes it easy to add other features to your app.
Start your local dev environment.
- npm
- yarn
- pnpm
npx sst dev
yarn sst dev
pnpm sst dev
Start Svelte
- npm
- yarn
- pnpm
npm run dev
yarn run dev
pnpm run dev
info
When running sst dev, SST does not deploy your Svelte app. You are meant to run Svelte locally.
2. Add file uploads
Let's add a file upload feature to our Svelte app.
Add an S3 bucket
Add an S3 bucket to your sst.config.ts.
const bucket = new Bucket(stack, "public");
Bind it to your Svelte app.
const site = new SvelteKitSite(stack, "site", {
+ bind: [bucket],
});
Generate a presigned URL
To upload a file to S3 we'll generate a presigned URL. Add this to src/routes/+page.server.ts.
export const load = (async () => {
  const command = new PutObjectCommand({
    ACL: "public-read",
    Key: crypto.randomUUID(),
    Bucket: Bucket.public.bucketName,
  });
  const url = await getSignedUrl(new S3Client({}), command);

  return { url };
}) satisfies PageServerLoad;
tip
With SST we can access our infrastructure in a typesafe way — Bucket.public.bucketName. Learn more.
Add an upload form
Let's add the form. Replace our src/routes/+page.svelte with.
<section>
  <form on:submit|preventDefault={handleSubmit}>
    <input name="file" type="file" accept="image/png, image/jpeg" />
    <button type="submit">Upload</button>
  </form>
</section>
Add the upload handler.
const handleSubmit = async (e: SubmitEvent) => {
  const formData = new FormData(e.target as HTMLFormElement);
  const file = formData.get("file") as File;

  const image = await fetch(data.url, {
    body: file,
    method: "PUT",
    headers: {
      "Content-Type": file.type,
      "Content-Disposition": `attachment; filename="${file.name}"`,
    },
  });

  window.location.href = image.url.split("?")[0];
};
note
We need to set prerender to false in src/routes/+page.ts since we want to generate the presigned URL on page load.
This will upload an image and redirect to it!
3. Add a cron job
Next, we'll add a cron job to remove the uploaded files every day. Add this to sst.config.ts.
new Cron(stack, "cron", {
  schedule: "rate(1 day)",
  job: {
    function: {
      bind: [bucket],
      handler: "src/functions/delete.handler",
    },
  },
});
Just like our SvelteKit app, we are binding the S3 bucket to our cron job.
Add a cron function
Add a function to src/functions/delete.ts that'll go through all the files in the bucket and remove them.
export async function handler() {
  const client = new S3Client({});

  const list = await client.send(
    new ListObjectsCommand({
      Bucket: Bucket.public.bucketName,
    })
  );

  await Promise.all(
    (list.Contents || []).map((file) =>
      client.send(
        new DeleteObjectCommand({
          Key: file.Key,
          Bucket: Bucket.public.bucketName,
        })
      )
    )
  );
}
And that's it. We have a simple SvelteKit app that uploads files to S3 and runs a cron job to delete them!
4. Deploy to prod
Let's end with deploying our app to production.
- npm
- yarn
- pnpm
npx sst deploy --stage prod
yarn sst deploy --stage prod
pnpm sst deploy --stage prod
info
View the source for this example on GitHub.
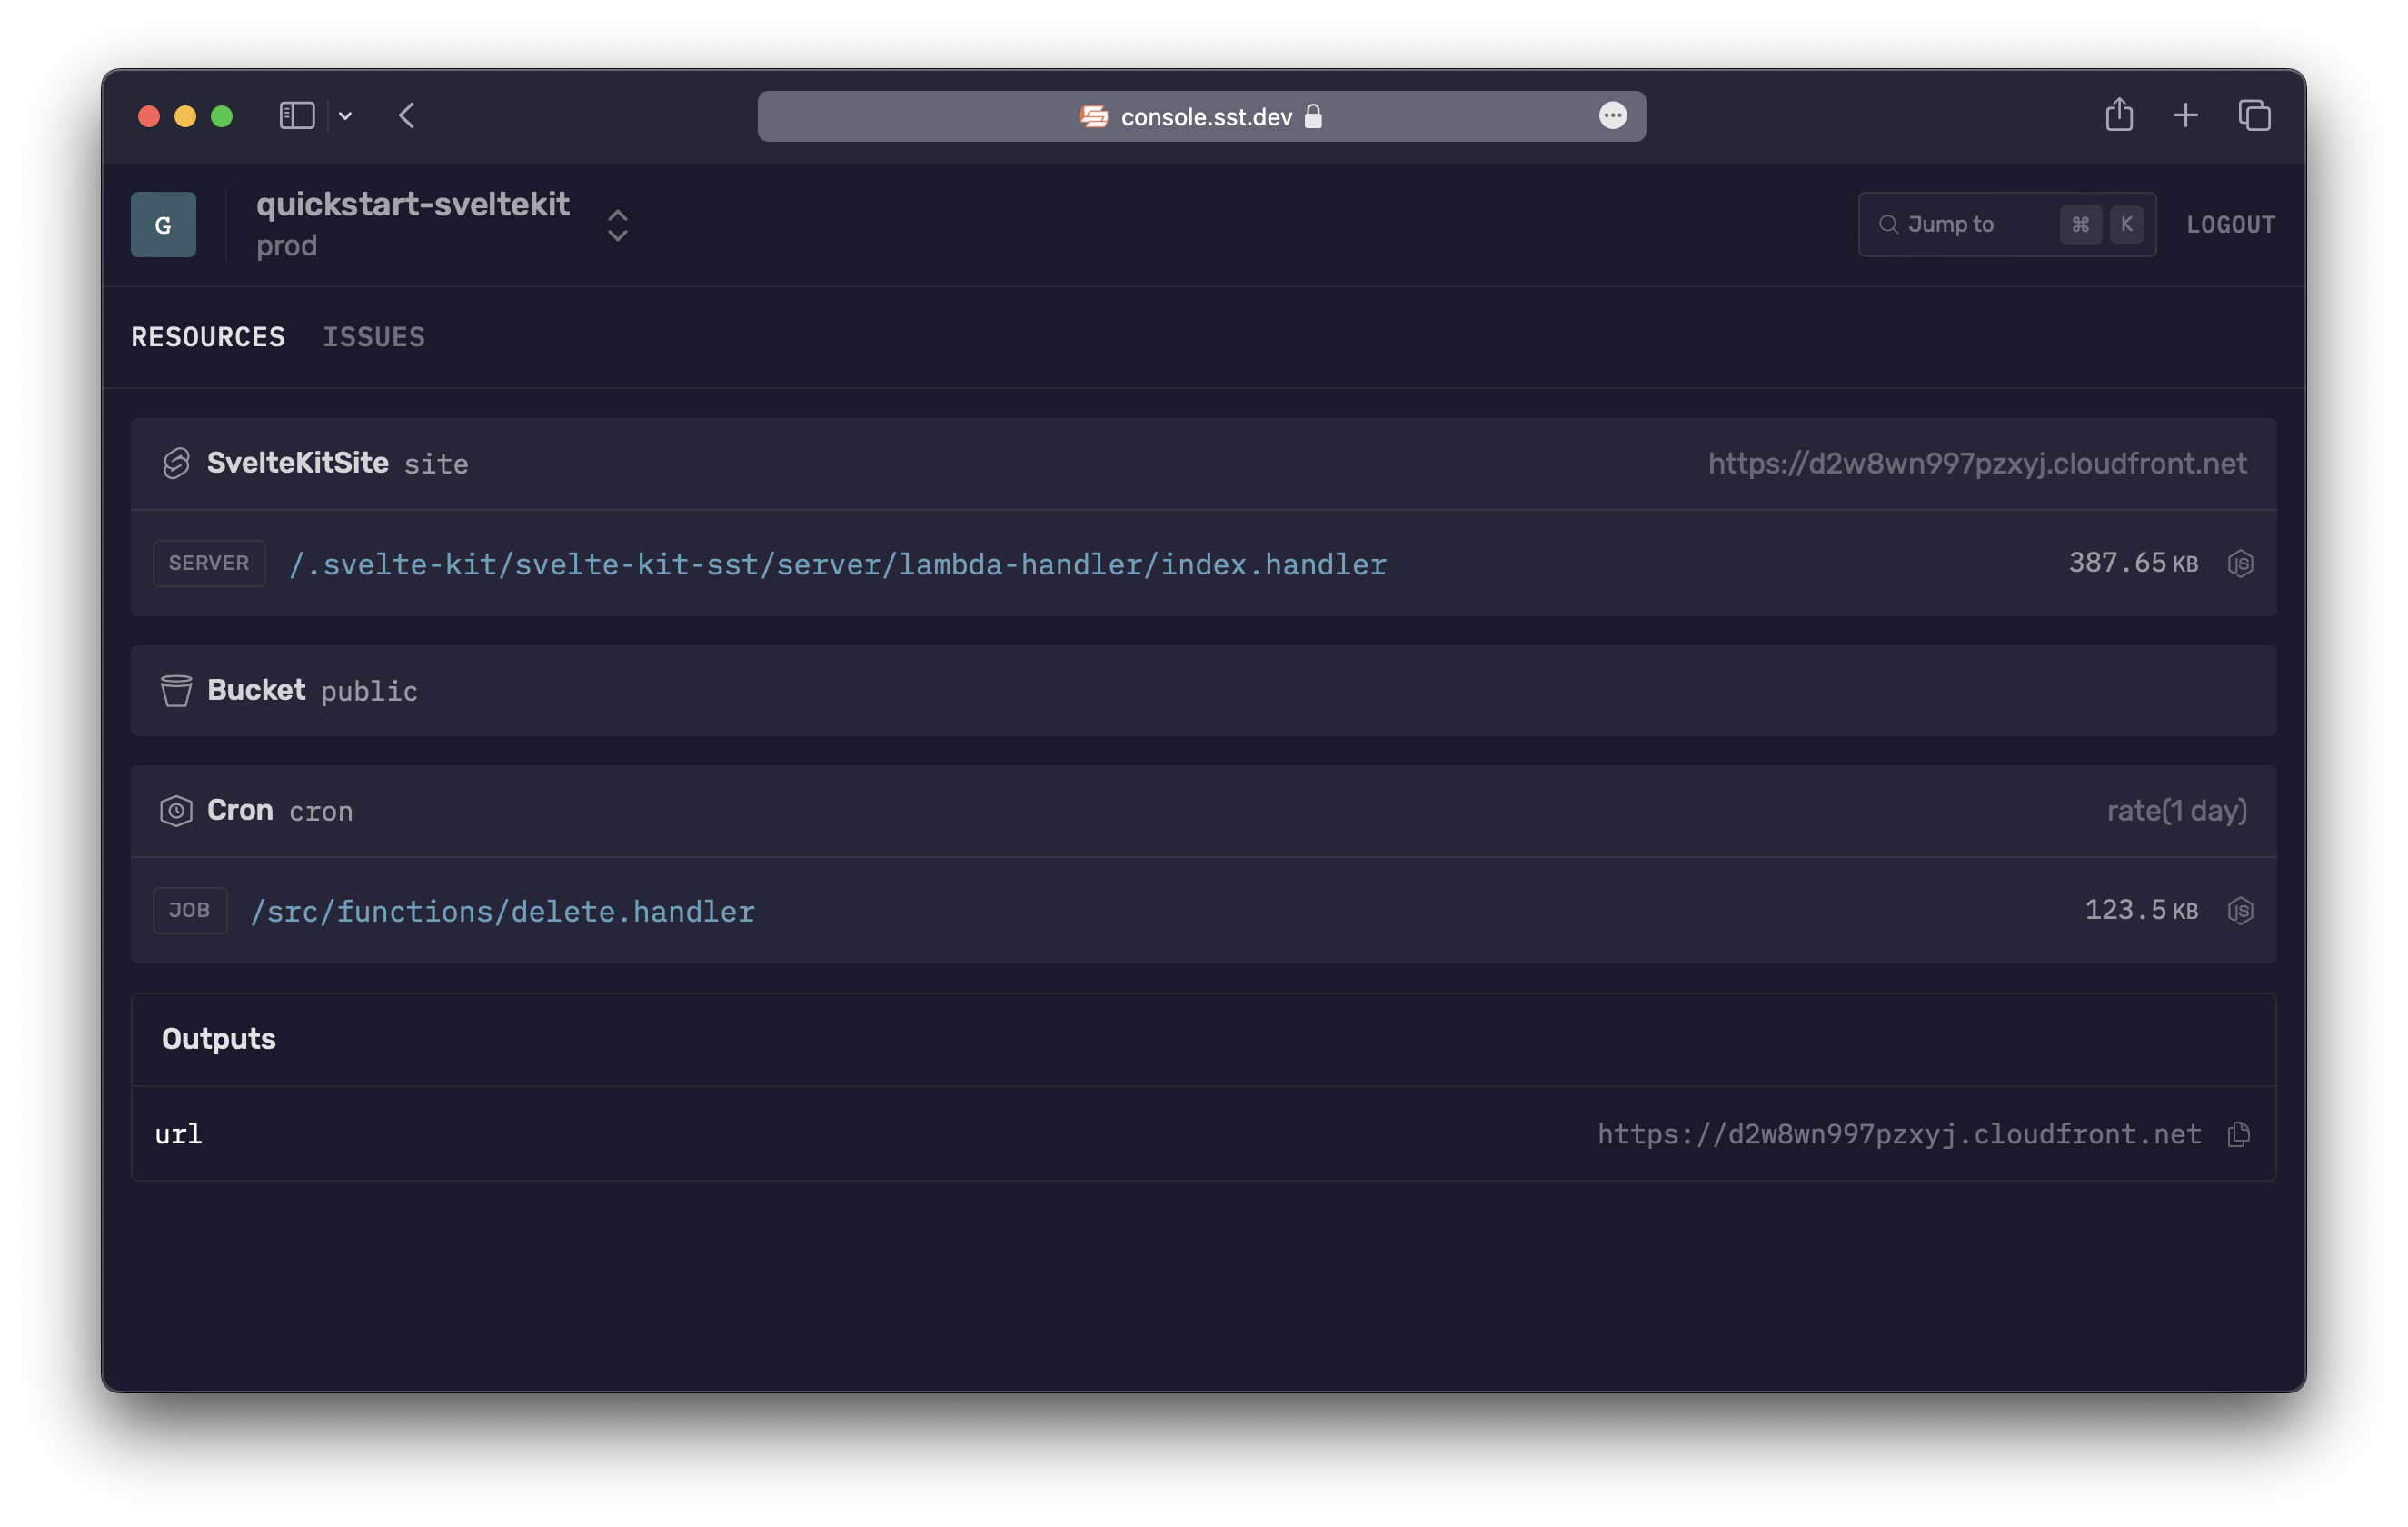
5. Manage in prod
You can use the SST Console to view logs and issues in prod. Create a free account and connect it to AWS.
Next steps
- Learn more about SST
Cron— Add a cron job to your appBucket— Add S3 buckets to your appSvelteKitSite— Deploy SvelteKit apps to AWS- Live Lambda Dev — SST's local dev environment
- Resource Binding — Typesafe access to your resources
- Ready to dive into the details of SST? Check out our guide.